
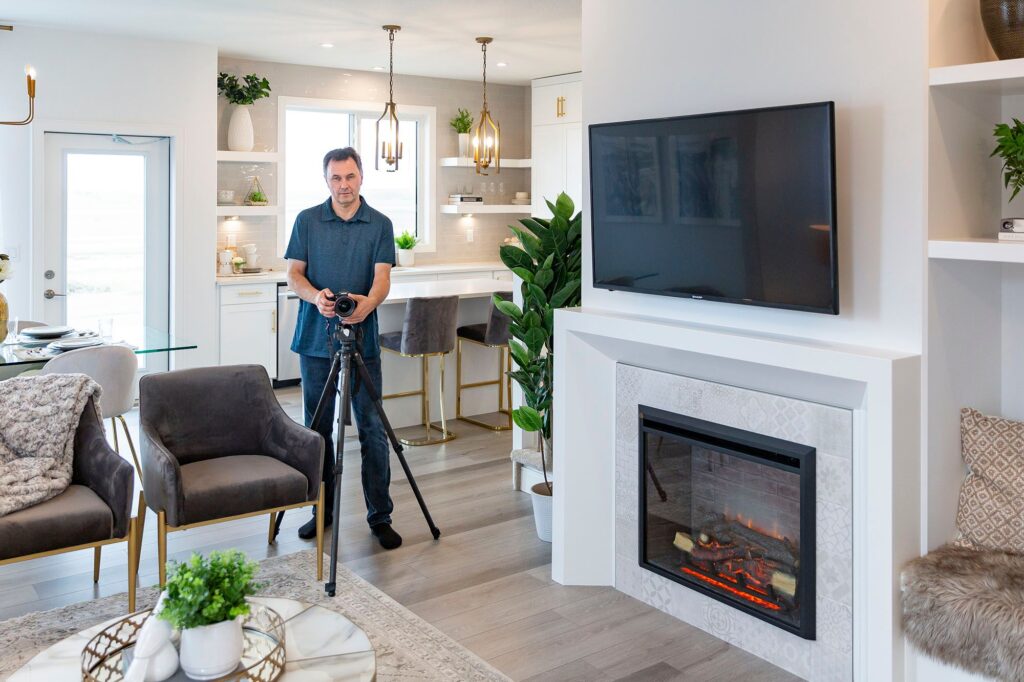
Most beginners quit real estate photography in the first six months. It’s a staggering statistic, but after 14 years in this industry, I can tell you it’s rarely because the work is too hard or the technical skills are too complex. They quit because nobody told them how to actually build a business.
Since I started in 2012, I’ve shot over 10,000 homes. I’ve photographed everything from tiny studio condos and luxury acreages to farmhouses with frozen lockboxes and kitchens that hadn’t seen a sponge in a decade. I’ve even walked into a basement and found a snake. After 10,000 homes, very little surprises me anymore.
The most important lesson I’ve learned is this: The difference between a struggling beginner and a working pro isn’t the camera in your bag. It’s the system in your head.
In this guide, I’m giving you the beginner blueprint I wish I had on day one. You’ll learn exactly what gear to buy, how to shoot a house in 30 minutes, what to charge, and how to land your first repeat Realtor client.
The Professional Mindset: Speed Equals Profit
Before we talk about lenses or settings, we have to talk about your philosophy. In real estate photography, agents don't hire you for your "artistic vision." They hire you because they need a partner who shows up on time, shoots fast, and delivers bright, clean images by noon tomorrow.
Your goal isn't just to be the best photographer in your city; it’s to build the most efficient real estate media business you can run without burning out. Speed creates profit. The faster you shoot, edit, and deliver, the more homes you can book in a week. Every minute you save on-site is a minute you can spend marketing your business instead of editing until 2:00 AM.
The Gear: What You Need (and What Can Wait)
One of the biggest mistakes beginners make is overbuying gear. You don’t need a massive kit to deliver professional results. I recommend splitting your purchases into two tiers: the "Must-Haves" to get started and the "Nice-to-Haves" once you’re profitable.
The Must-Have Tier
- Full-Frame Mirrorless Camera: You need the dynamic range and low-light performance of a full-frame sensor. I recommend the Sony A7 IV or the Sony A7 V for their incredible autofocus and reliability.
- Wide-Angle Lens: This is your bread and butter. You need something in the 12-24mm or 16-35mm range. If you're on a budget, a 16-35mm f/4 will work perfectly, but if you can swing it, the Sigma 14-24mm f/2.8 or the Sigma 16-28mm f/2.8 are absolute workhorses.
- Laptop & Software: You need a machine that can handle high-res files. For software, Adobe Lightroom and Photoshop are industry standards, but if you want to skip the steep learning curve, start with AutoHDR.
The Nice-to-Have Tier
Once you’ve booked your first 10 shoots, reinvest your profits into these "profit layers":
- Drone: A DJI Air 3S is fast to deploy and delivers the aerial shots that agents love to pay extra for.
- Virtual Tour Gear: An iGUIDE camera or a Ricoh Theta Z1 allows you to offer floor plans and 3D tours.
- Video Gimbal: A DJI RS 5 or even a DJI Osmo Pocket 3 for cinematic walkthroughs.
For a deeper dive into my bag, check out The Ultimate Real Estate Photography Gear Guide (2026).

The On-Site Workflow: 30 Minutes to "Done"
If you're lugging a tripod from room to room, you’re losing at least 10 minutes per house. Multiply that by four houses a day, and you're losing hours of potential revenue every week.
I shoot handheld. By using the camera's built-in image stabilization (IBIS) and a 3-exposure HDR bracket (at -2, 0, and +2), I can move through a standard home in about 30 minutes flat.
My Step-by-Step Sequence:
- The 60-Second Walkthrough: I turn on every light, open all blinds, hide trash cans/pet bowls, and turn off every ceiling fan (spinning blades ruin your HDR merge).
- The CubiCasa Scan: Before I even touch my camera, I spend 5 minutes scanning the home with the CubiCasa app on my phone. This becomes a professional floor plan I can sell as a high-margin add-on.
- The Shooting Order: I follow a strict order so I never backtrack:
- Front Exterior & Front Yard
- Entry, Living Room, Kitchen, Dining Room (The "Money Rooms")
- Primary Bedroom & Ensuite
- Remaining Bedrooms & Bathrooms
- Family Room & Back Yard
I typically take 3-4 shots of the kitchen and living room, 2 shots per bedroom, and 1 per bathroom. To ensure everything is sharp, I use Aperture Priority at f/8, ISO capped at 400, and a 2-second timer to eliminate shutter shake.
For more on this high-speed method, read The 60-Minute Real Estate Photography Workflow.

Editing and Delivery: Leveraging AI
Editing used to be the bottleneck that kept photographers up all night. In 2012, it took me three hours to process a house. Today, thanks to AI, it takes less than an hour.
I upload my bracketed RAW files straight to AutoHDR. The AI automatically blends the exposures, balances the light, and fixes the colors. I then pull those files into Lightroom for a quick "Quality Control" check and some final straightening.
If you don't want to learn complex editing, AutoHDR has built-in tools where you can literally type what you want fixed. This is your "competitive moat." Agents don’t care how you edit; they care that the photos look great and arrive by noon the next day.
I deliver all my final media through HDPhotoHub. It automates the delivery, handles the payments, and makes you look like a high-end agency from day one.
Pricing Your Services
Don't compete on being the cheapest. Compete on being the most reliable. In my market (Saskatoon), I recommend beginners start around $250 for photos and a floor plan.
Once you have 10 shoots under your belt, move to a tiered structure:
- Essentials: Budget-friendly photos.
- Professional: Your high-volume sweet spot (usually around $350).
- Signature: Luxury-focused with all the bells and whistles.
The secret to increasing your income is add-ons. A floor plan takes 5 minutes on-site but can add $50–$100 to your invoice. Drones and virtual tours do the same. If you aren't offering these, you're leaving money on the table. For a full breakdown, check out our Real Estate Photography Pricing Guide (2026).

How to Land Your First Clients: The "Costco Strategy"
Real estate is a relationship business. When I was starting, I used the "Costco Sample" strategy: I offered a free or deeply discounted first shoot to high-volume agents to prove my quality.
I once did a $250 shoot for an agent who was hesitant to switch. Within six months, that one Realtor booked me for 18 listings because she loved how reliable I was.
Pro-tip: Be as kind to the homeowner as you are to the agent. Homeowners talk to their Realtors after you leave. If you tracked mud in or were rude, you won’t get invited back.
To scale your client list quickly, read our guide on How to Get Your First 25 Realtor Clients.
3 Mistakes That Will Kill Your Business
- Inconsistent Delivery: If you promise photos by noon, they should be in the inbox by 11:30 AM. Agents plan their listing launches around you. Miss a deadline twice, and you’re fired.
- Slow Response Times: In this industry, speed of reply is a competitive advantage. If an agent has to wait six hours for a text back, they’ve already booked someone else.
- Being "Too Artistic": Don't spend an hour trying to get the "perfect" light through a window. Get the clean, professional shot and move to the next room.
Final Recommendation: Start Now
Nobody starts by shooting $5 million mansions. I started with zero clients and zero experience. If I can build a six-figure business in Saskatoon after 10,000 homes, you can do it in your market, too.
The technology is better than ever, the AI is faster than ever, and the demand for high-quality media is at an all-time high. Stop overthinking your gear and start building your system.
Next Steps:
- Download The Complete Real Estate Photography Shot List.
- Explore our Recommended Gear for beginners.
- Subscribe to our newsletter for weekly workflow breakdowns.