
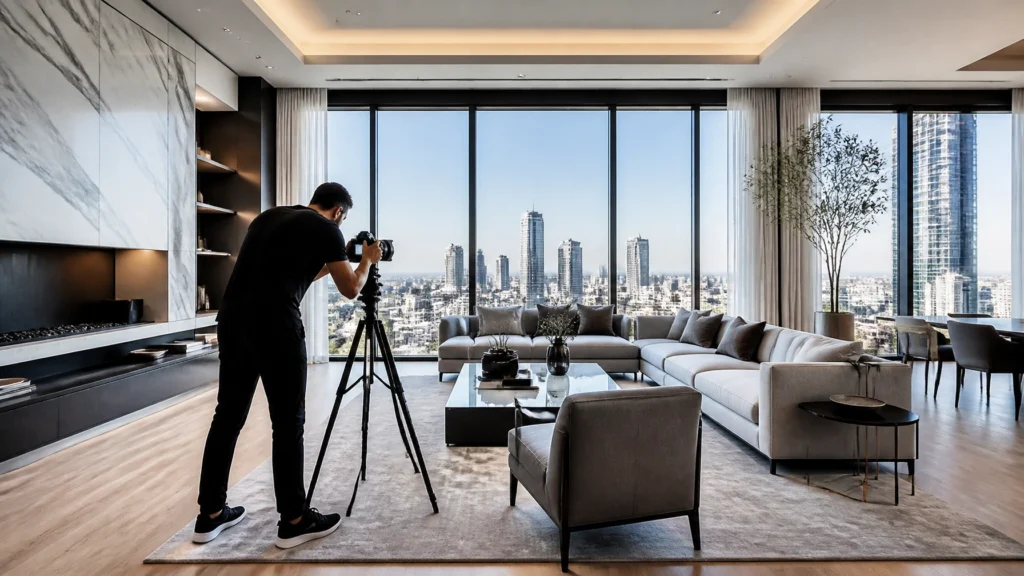
If you ask ten different photographers how long a shoot should take, you’ll get ten different answers. Some will tell you they spend three hours meticulously lighting a living room with multiple flashes. Others will tell you they’re in and out in 15 minutes with a smartphone.
After 14 years in the industry and over 10,000 homes photographed, I’ve learned one hard truth: Time is your most expensive overhead.
Every extra minute you spend on-site is a minute you aren't marketing, editing, or, most importantly, with your family. But speed shouldn't come at the cost of quality. In 2026, the market demands high-end, HDR-quality visuals delivered at lightning speed. If you take too long, you’re not just losing time; you’re losing profit margin.
In this guide, I’m going to break down exactly how long a real estate photography shoot should take based on property size, the "hidden" time-wasters that are killing your hourly rate, and the exact workflow I use to shoot a full media package in under 60 minutes.
Quick Verdict: How Long is "Normal"?
For a standard 2,000-square-foot home, a professional real estate photography shoot (photos only) should take between 30 and 45 minutes. If you are providing a "Full Media Package" (Photos, Drone, Video, and Floor Plan), you should aim to be off-site in 60 to 75 minutes.
If you are consistently spending 2+ hours on standard residential listings for photos alone, your workflow is broken. You are likely over-shooting, over-lighting, or suffering from "the tripod trap."
Typical Shoot Times by Property Type
Property size is the most obvious variable, but it’s not the only one. Layout, staging quality, and client expectations play a role. However, to build a scalable business, you need predictable averages. Here is my benchmark for 2026:
Small Condo (<800 sq ft): 20–25 Minutes
Condos are high-speed, high-volume opportunities. With fewer rooms to cover, you should be focusing on the "hero" shots: the main living area, the kitchen, the primary bedroom, and the balcony view. Because space is tight, I often switch to a wider lens or move faster to avoid getting caught in reflections.
Townhouse (1,000–1,500 sq ft): 30–40 Minutes
Townhouses usually involve multiple levels, which adds a bit of "stair time." You’re looking at about 20–25 images. The key here is maintaining a consistent flow from the entrance to the main living floor and up to the bedrooms.
Average Home (1,500–2,500 sq ft): 45–60 Minutes
This is the "bread and butter" of the industry. Most of these homes require 25–35 images. This timeframe allows for a walkthrough, slight furniture adjustments (moving a trash can or closing a toilet lid), and capturing the exterior.
Large Home (2,500–4,000 sq ft): 60–75 Minutes
Once you cross the 3,000 sq ft mark, you start dealing with extra rooms, offices, dens, large basements, and complex outdoor spaces. You’ll likely be delivering 40–50 images here.
Luxury Estate (4,000+ sq ft): 75–90+ Minutes
Luxury isn't just about size; it's about detail. These shoots often require more attention to composition, potentially waiting for clouds to pass for the perfect exterior shot, and capturing specialized features like wine cellars or home theaters. Even then, with a refined workflow, you should rarely exceed two hours unless you are doing a multi-day high-end architectural shoot.

What Slows Photographers Down? (The Profit Killers)
If your times are significantly higher than the averages above, you probably have one of these "profit killers" lurking in your workflow.
1. The Tripod Trap
I see this constantly with photographers who come from a traditional architectural background. They spend 5 minutes leveling their tripod, another 5 minutes tweaking the height, and another 5 minutes using a geared head for every single shot.
The Fix: I shoot handheld HDR. Using a Sony camera with excellent IBIS (In-Body Image Stabilization) and AutoHDR for editing, I can move through a room in seconds rather than minutes. If you haven't seen it, check out my video Shoot a House in 30 Minutes (NO TRIPOD!).
2. Indecision and "The Pause"
The biggest time waste isn't your camera settings: it's your indecision. Walking into a room and thinking, "Where should I stand?" costs you. That 30-second pause, repeated 30 times a house, is 15 minutes of dead air.
The Fix: Use a standardized Shot List. I know exactly which 2-3 angles I need for a bedroom before I even step through the door. Move, shoot, next.
3. Clutter and Staging Issues
You are a photographer, not a cleaning service. If you spend 20 minutes clearing off kitchen counters or making beds, you are losing money.
The Fix: Send a "Pre-Shoot Checklist" to your clients. If the house isn't ready when you arrive, you have two choices: shoot it as-is or charge a "Wait/Prep Fee." Professionalism starts with setting boundaries.
4. Over-Complicating Lighting
Are you still doing "Flambient" (Flash + Ambient) for every single shot? While it has its place in high-end luxury, modern HDR sensors and AI-assisted editing tools like AutoHDR have made the Flambient workflow obsolete for 90% of residential listings.
The Fix: Master the HDR workflow. It’s faster on-site and faster in post.
What Speeds You Up?
Efficiency is the result of systems. Here is how I’ve managed to photograph over 10,000 homes while maintaining a high quality of life.
Handheld HDR Workflow
I average 25 minutes for photography on a standard 1,800 sq ft home. The secret? I shoot handheld. By using high-speed bracketing and holding the camera steady, I eliminate the "setup time" for 90% of my shots. I only pull out the tripod for extreme low-light situations or specialized long-exposure exterior shots.
The "One-Pass" Rule
I never walk through a house twice if I can help it. My workflow is a linear progression:
- Walkthrough (5 mins): Open blinds, turn on lights, identify any major red flags.
- Exiors (5 mins): Shoot the front and back while the sun is in the best position.
- Interior (20-30 mins): Start at the front door and work through the house logically.
- Add-ons (15 mins): Drone, Floor Plan, and Video.
Automation and Gear Choice
Choosing the right gear isn't just about image quality; it's about deployment speed.
- Drone: I use the DJI Air 3S because it’s fast to deploy and handles wind like a champ.
- Video: The DJI Osmo Pocket 4 is my go-to for walkthroughs because it fits in my pocket and requires zero gimbal balancing time.

The 60-Minute Media Package: My Actual Timing Averages
In today's market, agents don't just want photos; they want a "Full Media Package." My goal for every standard listing is to be packed up and driving away in 60 minutes. Here is the breakdown:
| Service | Time Allocation | Gear Used |
|---|---|---|
| Walkthrough/Prep | 5 Minutes | Eyes & Hands |
| Photography | 25 Minutes | Sony Camera + AutoHDR |
| Drone (5-8 shots) | 10 Minutes | DJI Air 3S |
| Video Walkthrough | 10 Minutes | DJI Osmo Pocket 4 |
| Floor Plan Scan | 5 Minutes | iPhone + CubiCasa |
| Pack Up / Client Chat | 5 Minutes | : |
| Total Time | 60 Minutes | : |
This 60-minute workflow allows me to book 4-5 shoots a day without burning out. That is the difference between a "hobby" and a profitable business.
Post-Shoot Time: Editing, Uploading, and Delivery
Your time on-site is only half the battle. If you spend 5 hours editing a 1-hour shoot, you’re still failing the efficiency test.
- Editing: I use AI-assisted editing and outsourcing. For standard HDR, AutoHDR handles the heavy lifting. I can edit a full shoot in under 15 minutes.
- Delivery: Use a client management system like HDPhotoHub or Aryeo. These tools automate the billing and delivery process. Once you upload the photos, the system handles the rest: collecting payment and sending the download link.
How to Shave 20 Minutes Off Your Next Shoot
If you want to see an immediate improvement in your timing, try these three things at your next appointment:
- Don't touch the tripod for the first floor. Try shooting handheld HDR (bracketed 3 or 5 shots). You’ll be amazed at how much faster you navigate corners and tight spaces.
- Turn off all ceiling fans before you start shooting. Don't wait until you get into the room. Do it during your initial 5-minute walkthrough.
- Use the "Outside-In" method. Shoot the exteriors first. It gets the "easy" stuff out of the way and lets you adjust to the lighting conditions of the day before you tackle the interiors.

FAQ: Real Estate Photography Timing
Q: Do agents get annoyed if I’m too fast?
A: Only if the quality suffers. Most agents are busy and appreciate a photographer who is efficient and professional. I tell my clients, "My system is designed for maximum quality with minimum disruption to your sellers." They love it.
Q: Should I charge more for larger homes if they take more time?
A: Absolutely. My pricing is based on square footage. Larger homes require more shots and more time on-site, so they should always carry a higher premium.
Q: How many photos should I take per hour?
A: Focus on quality over quantity. For a standard home, 25-35 high-quality images are better than 60 mediocre ones. More photos also mean more editing time.
Q: Is it faster to shoot with a drone or a pole?
A: In 2026, the DJI Air 3S is so fast to deploy that it’s almost always faster than setting up a specialized mast or pole system for elevated shots.
Q: How much time does virtual staging add?
A: On-site? Zero. You just shoot the room as a normal empty space. The time is added in post-production. Using a tool like Fotello or Virtual Staging AI, you can have staged images back in minutes.
Q: What if the house is a mess when I arrive?
A: My rule: I will move small items (trash cans, dish towels, shoes). I will NOT move furniture or clean a kitchen. If it’s too messy to shoot, I call the agent immediately.
Q: Does video always take a long time?
A: Not if you use the right gear. A simple cinematic walkthrough with a DJI Osmo Pocket 4 can be done in one or two continuous passes.
Q: Do you use a timer on-site?
A: I don't use a stopwatch, but I am very aware of the clock. I know that if I’m not done with interiors by the 30-minute mark, I’m running behind.
Q: How long does it take to learn the 60-minute workflow?
A: Most photographers can cut 30% of their time off just by switching to handheld HDR and following a shot list. Mastering the full media package takes about 10-20 shoots of consistent practice.
Q: Is it okay to shoot 24-hour turnaround, or should I be faster?
A: 24-hour delivery is the industry standard. If you can deliver "Next Morning," you have a massive competitive advantage. My systems are built for same-day or next-morning delivery.

Final Recommendation: Master the Clock to Master Your Business
At the end of the day, your business is a math problem. If you charge $200 for a shoot and it takes you 4 hours (including travel and editing), you’re making $50 an hour before expenses. If you can do that same shoot in 1.5 hours total, you’ve jumped to $133 an hour.
Efficiency isn't about rushing; it’s about removing the friction in your day. By adopting a 60-minute workflow and using tools like AutoHDR, you can deliver a premium product that keeps your clients happy while reclaiming your most valuable asset: your time.
If you’re ready to stop guessing and start scaling, I’ve put together a free resource to help you get started.
Ready to shoot faster and earn more?
Join our community of professional photographers at RE Media Systems Community and download the Free 30-Minute Shoot Blueprint™. Let’s get you off the tripod and into a more profitable business.