
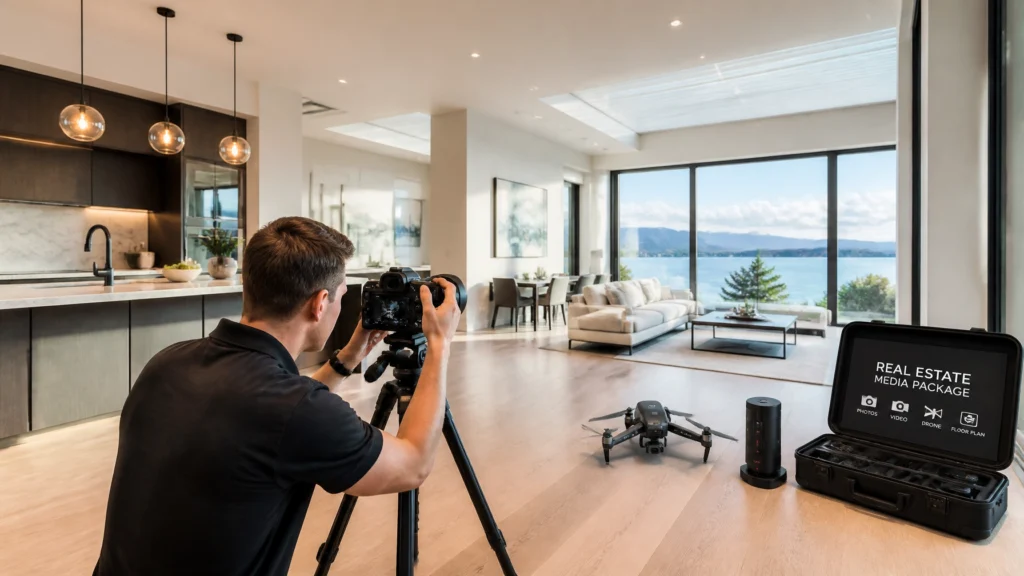
In the real estate media business, your most valuable asset isn’t your camera or your drone, it’s your time.
After 14 years in the industry and over 10,000 homes photographed, I’ve learned that the difference between a struggling photographer and a highly profitable one usually comes down to their workflow. If you are spending three hours on-site for a standard listing, you aren’t just working hard; you are leaking profit.
The goal is simple: Shoot a full media package, photos, floor plans, and drone, in under 60 minutes.
Doing this doesn’t mean cutting corners or delivering low-quality work. It means having a repeatable, clinical system that eliminates wasted movement. Today, I’m breaking down the exact real estate photography workflow I use to keep my business efficient and my clients coming back.
The Preparation: The Foundation of Speed
Speed starts before you even pull into the driveway. If you are still checking your batteries or formatting SD cards in the client’s kitchen, you’ve already lost the battle against the clock.
1. The “Night Before” Checklist
Every piece of gear must be ready. This includes:
- Charging all camera batteries and drone controllers.
- Formatting SD cards.
- Ensuring your recommended gear is packed in the same spot every time.
- Checking the weather and flight restrictions for drone work.
2. Setting Client Expectations
One of the biggest time-wasters is a house that isn’t ready. Send a “Pre-Shoot Checklist” to your clients 24 hours in advance. Remind them to declutter, turn on all lights, and put the dogs away. If the house is ready when you arrive, you save 15 minutes of “moving stuff around.”
Minutes 0–10: The Arrival & Walkthrough
When you arrive, don’t touch your camera yet. The first 10 minutes are for scouting and prepping the stage.

- The Greeting: Briefly meet the agent or homeowner. Confirm any “must-have” shots (like that secret wine cellar or the custom backsplash).
- The Lights & Blinds: Walk through every room. Turn on every light (including bedside lamps and stove lights) and open all blinds. Consistent lighting is key to a fast workflow.
- The Declutter “Sweep”: If there’s a stray dish or a remote on the coffee table, move it. If the room needs more than 30 seconds of work, shoot it “as-is” or move on. We are photographers, not professional stagers.
Minutes 10–45: The Photo & Floor Plan “Double-Up”
This is the core of the Real Estate Media Workflow. I recommend a “top-down” or “back-to-front” approach to avoid walking over your own footsteps.
The Capture Sequence
Start with the most important rooms first while the agent is potentially still chatting with the homeowner in the kitchen.
- Main Living Areas: Start with the “Money Shots”, the living room, kitchen, and primary suite.
- The Workflow Hack: I often combine my photography with my floor plan scanning. For example, if I’m using the iGuide Planix system or CubiCasa, I can scan the room immediately after I take the photos.

Camera Settings for Speed
Stop overthinking your settings for every room. To shoot faster, you need a “set it and forget it” baseline:
- Mode: Aperture Priority (A) or Manual (M).
- Aperture: f/7.1 to f/9 for deep focus.
- ISO: 200–400 (keep it clean).
- Bracketing: 3 to 5-shot AEB (Auto Exposure Bracketing) with 2-stop increments.
By bracketing, you ensure you capture the full dynamic range (including those crisp window views) without having to set up complex flashes. This is the heart of a modern HDR workflow.

Minutes 45–55: Drone & Video “Quick-Hits”
Once the interiors are done, it’s time to head outside. The exterior is usually the easiest part of the shoot, but it’s where many photographers get distracted.
- Standard Exteriors: 4–6 photos of the front, 2–4 of the back. Watch your shadows!
- Drone Shots: Launch the drone immediately. You only need 5–8 high-quality aerials: a top-down, a few angles showing the neighborhood context, and a clear “hero” shot of the front.
- Vertical Video: If your package includes a social media reel, grab 10–15 clips of 5 seconds each while walking back to your car. This adds massive value with almost zero extra time.

Minutes 55–60: The Wrap & Delivery Setup
The final five minutes are for the “peace of mind” check.
- Check your SD card to ensure the files are there.
- Turn off the lights as you exit (unless requested otherwise).
- Thank the client and tell them exactly when to expect the files (usually “by tomorrow morning”).
The Secret to the Sub-60 Minute Shoot: Systems
You can’t hit these times if you are doing everything manually. To truly scale your real estate media business, you need to automate the “boring” stuff.
- AutoHDR Editing: Don’t spend all night in Lightroom. Use an AI-assisted HDR processing service or a dedicated editor to handle the blending.
- CubiCasa for Floor Plans: Instead of measuring walls with a laser, use a 5-minute smartphone scan. It’s a game-changer for speed.
- Delivery Platforms: Use a professional delivery system that handles the gallery, the floor plan host, and the billing all in one link.
Final Verdict: Why Speed Matters
Shooting faster isn’t about being “lazy.” It’s about Efficiency and EEAT (Experience, Expertise, Authoritativeness, and Trustworthiness). When you can walk into a $1.5 million home, execute a professional media package in 60 minutes, and deliver stunning results the next day, you aren’t just a photographer, you’re a professional partner for that agent.
If you want to dive deeper into the gear that makes this speed possible, check out our Start Here guide or browse our Recommended Gear.
Ready to build a better business? Stop “taking pictures” and start implementing a system.
FAQ: Real Estate Photography Workflow
Q: Do I need a tripod for every shot?
A: Yes. It ensures perfectly straight vertical lines and allows for the long exposures needed in bracketed HDR shooting.
Q: How many photos should I deliver?
A: For a standard 2,000 sq. ft. home, 25–35 photos is the sweet spot. Delivering 100 photos just confuses the agent and wastes your time.
Q: Should I shoot drone first or last?
A: I prefer shooting it last. It allows me to finish the interiors while the light is consistent, then I can adjust for the exterior sun/shadows at the end.
Q: What if the house is a mess?
A: If it’s a safety hazard or unshootable, reschedule. If it’s just “cluttered,” do a 10-minute “emergency clear” of the main areas and move on. Charge a “not ready” fee if it happens repeatedly.
RE Media Systems helps photographers shoot faster, earn more, and build better businesses. Explore our courses and free resources to level up your workflow today.