
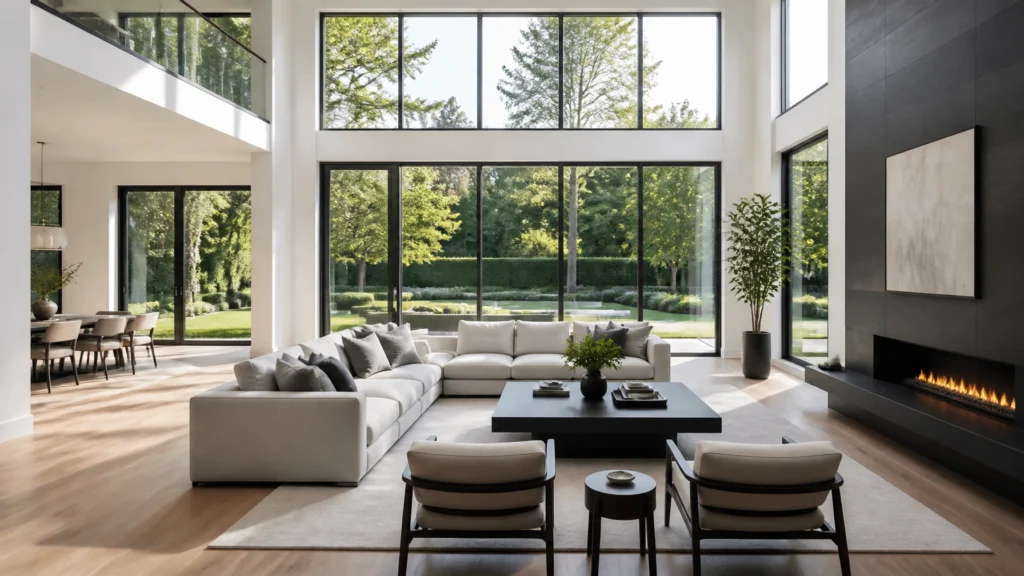
If you want to build a sustainable, high-profit real estate media business, you have to stop thinking like an “artist” and start thinking like a systems engineer.
After 14 years in the industry and over 10,000 homes photographed, I’ve learned one hard truth: Speed is the ultimate differentiator.
In 2026, the market doesn’t just demand high quality; it demands high efficiency. If it takes you three hours to shoot a standard 2,500-square-foot home, you’re not just working harder, you’re losing money. You’re limiting your daily shoot capacity, increasing your burnout risk, and likely frustrating busy real estate agents who have back-to-back appointments.
My goal for you is simple: The 60-Minute Shoot.
This isn’t about rushing or cutting corners. It’s about a repeatable, high-speed system that delivers premium results every single time. In this guide, Pillar #7 of our cornerstone series, I’m going to walk you through the exact workflow I use to get in, get the shots, and get out in under an hour, while still providing the quality that keeps agents coming back.
The Mindset Shift: Artist vs. Marketing Partner
Before we talk about gear or settings, we need to fix your mindset. Many photographers get stuck in the “Artist Trap.” They spend 20 minutes meticulously styling a coffee table or waiting for a cloud to pass.
Real estate photography is marketing photography. Your job is to provide high-quality visual assets that help an agent sell a house. The house is the product; you are the marketing partner.
When you shift from “capturing the soul of the home” to “executing a marketing checklist,” your speed naturally increases. A 60-minute workflow relies on a repeatable system where you don’t have to “think” about what to do next, you just execute.
Phase 1: Pre-Shoot Preparation
Your 60-minute clock starts the moment you pull into the driveway, but the work begins before you even leave your house.
The Equipment Checklist
Efficiency starts with gear that is ready to go. There is nothing more amateur (or time-consuming) than hunting for a spare battery or formatting an SD card while the homeowner watches you.
I use a “Go-Bag” system. Everything has a specific place.
- Primary Camera: Sony A7IV or A7RV (with IBIS for handheld).
- Wide-Angle Lens: 12-24mm or 16-35mm.
- Batteries: Charged and inside the camera.
- Media: 2x high-speed SD cards (V60 or V90).
- Drones/Scanners: DJI Air 3 and CubiCasa-ready phone or iGuide Planix.

House Prep: The Pre-Shoot Guide
The biggest “profit killer” is a messy house. If you spend 20 minutes moving soap bottles and hiding trash cans, you’ve already blown your 60-minute window.
I send every agent a Pre-Shoot Readiness Guide 24 hours in advance. It instructs the seller to:
- Turn on all lights (and replace burnt-out bulbs).
- Turn off ceiling fans.
- De-clutter counters.
- Clear the driveway of cars.
The 5-Minute Initial Walkthrough
When you arrive, do a quick lap of the main floor.
- Check the Light: Are the blinds open? Is the glare too harsh?
- Assess the Flow: Where is the “hero” angle?
- Small Adjustments: Don’t move furniture, but do hide the stray dish towel or the dog bowl.
Phase 2: The No-Tripod Workflow (Handheld HDR)
This is the most controversial part of my system for beginners, but it’s the secret to my speed. I shoot 90% of my standard listings without a tripod.
Why Tripods are “Profit Killers”
Setting up a tripod, leveling it, moving it, and re-leveling it takes roughly 45–60 seconds per shot. In a 40-shot shoot, that’s 30–40 minutes of just… standing there.
The Tech That Makes Handheld Possible
In 2026, modern camera sensors and In-Body Image Stabilization (IBIS) are incredible. When combined with a fast shooting mode and smart editing, handheld HDR is indistinguishable from tripod-based HDR for web use.
- Bracketing: I set my Sony to 5-frame bracketing (±2 EV).
- Burst Mode: Hold the shutter, and the camera fires all five shots in under a second.
- IBIS: Keeps the frames aligned enough for Lightroom’s “Auto-Align” to handle perfectly.
By ditching the tripod, I can move through a room in 60 seconds that would take a tripod-user 5 minutes.
Learn more about the technical setup in The Best Camera Gear for Real Estate and master the bracketed approach in The Ultimate Real Estate HDR Guide.

Phase 3: The Order of Operations
To shoot fast, you need a fixed path. Do not bounce between rooms. Following a sequence ensures you never miss a bathroom and never have to double back.
The Scott Prokop Sequence:
- Exterior Hero Shots: Get these done first while the light is (hopefully) best.
- The Entryway & Living Room: Capture the “first impression.”
- The Kitchen & Dining: The heart of the home.
- Primary Suite: Bedroom, ensuite, and walk-in closet.
- Secondary Bedrooms: Usually 1-2 shots each.
- Bathrooms: Quick handheld shots (avoid the mirror!).
- The Backyard: Finish outside.
If I am providing add-on services like floor plans or drones, I integrate them into this flow (see Phase 5).
Phase 4: Composition for Speed
Efficiency isn’t just about moving fast; it’s about getting the composition right the first time so you don’t have to crop or fix it in post-production.
The Rule of Thirds & Verticals
Real estate photography has one golden rule: Vertical lines must be vertical.
In a 60-minute workflow, I use the grid lines on my camera’s LCD to line up door frames and wall corners perfectly.
One-Point vs. Two-Point Perspective
- One-Point: Facing a wall straight-on. Great for kitchens or highlighting a fireplace.
- Two-Point: Shooting into a corner to show the depth of a room. This is your “bread and butter” shot for living rooms and bedrooms.
Don’t overcomplicate it. 2–3 shots per room (wide, medium, feature) is usually all the agent needs.

Phase 5: Handling Multi-Service Shoots
In today’s market, photography alone isn’t enough. You need to offer drones, floor plans, and video. But how do you do all that in 60 minutes?
Integration, Not Segregation
Don’t shoot all the photos, then go back and do all the floor plans. Integrate them.
- Drone (5-10 mins): I do this first or last. If the weather is changing, do it first.
- Check out our Drone Photography Guide for the 10-shot drone checklist.
- CubiCasa / Floor Plans (5-10 mins): I use CubiCasa on my phone. After I finish photographing a floor, I walk back through with the phone to scan. It’s incredibly fast.
- Video Walkthrough (10-15 mins): Handheld gimbal work happens simultaneously with the photo walkthrough or right after.
By using tools like CubiCasa or iGuide, you can add $100–$300 to your invoice with only 10 minutes of extra work.

Phase 6: Post-Shoot Offloading & Automation
Your workflow doesn’t end when you leave the driveway. The “administrative” side of real estate photography is where most solo operators lose their profit.
Standardized Folder Structure
Don’t just dump files onto your desktop.
[Year]-[Month]-[Date]_[Property Address]RAWDRONEFLOORPLANFINAL_DELIVERY
The Automation Layer
I use the Scott Prokop App and HD PhotoHub to handle the heavy lifting.
- Booking: Clients book through the portal.
- Delivery: Once my editor (or AI) finishes the photos, the system automatically notifies the agent, handles the payment, and delivers the un-watermarked files.
This saves me 2–3 hours of “desk time” every single day. If you want to see how I handle the editing side at high speed, check out Speed Editing Workflow.
Common Profit Killers (Avoid These!)
- Overshooting: You don’t need 100 photos of a 3-bedroom house. 25–35 is the sweet spot. Every extra photo you take is one more you have to cull and edit.
- Chatting Too Much: I love my clients, but a 20-minute chat in the kitchen is 20 minutes of lost revenue. Be professional, be friendly, but stay focused.
- Moving Furniture: If the house isn’t ready, shoot it as-is (within reason). You are not a stager.
- Editing While Shooting: Don’t look at every single shot on the back of your LCD. Trust your settings and your system.
FAQ: The 60-Minute Workflow
1. Is 60 minutes really enough for a quality shoot?
Yes. With handheld HDR and a pre-shoot checklist, 60 minutes is more than enough for a standard 2,500 sq. ft. home.
2. Don’t I need a tripod for sharp images?
Not with modern IBIS. If you are shooting at 1/100s or faster in a burst, the alignment is perfect.
3. What if the lighting is terrible?
That’s where HDR comes in. Your brackets will capture the dynamic range; the software handles the rest.
4. How many photos should I deliver?
For most listings, 25-35 photos. Quality over quantity.
5. Do I need to shoot RAW?
Always. RAW files contain the data needed for HDR merging and color correction.
6. What if the homeowner wants to talk?
Politely explain that you are on a tight schedule to ensure you get the best light for their home.
7. Should I use a flash?
I rarely use flash for standard listings. HDR is faster and provides a more natural “window view.”
8. Is the Sony A7IV the best camera for this?
It’s one of them. Anything with good IBIS and fast bracketing works. See our Gear Guide.
9. How do I handle very dark rooms?
Bump your ISO. Modern cameras handle ISO 1600-3200 with ease, especially after AI noise reduction.
10. Do I charge less if I shoot faster?
No! You charge for the value and the result. Your efficiency is your bonus. Read our Pricing Guide.
11. What drone do you recommend for speed?
The DJI Air 3 or Mini 4 Pro. They are small, fast to deploy, and have great sensors.
12. How do I delivery floor plans?
I use CubiCasa. I scan, upload, and receive the floor plan in 6-24 hours.
13. What if the house is a mess?
Shoot around it. If it’s truly terrible, document it and let the agent know.
14. Can I use AI for editing?
Absolutely. AI-driven HDR merging and color correction are key to the 2026 workflow.
15. How many shoots can I do in a day with this system?
With travel time, you can easily handle 4-5 shoots a day without burnout.
Final Checklist for a 60-Minute Shoot
- 0-5 Mins: Walkthrough, lights on, fans off.
- 5-15 Mins: Exterior and Drone (if applicable).
- 15-45 Mins: Interior handheld HDR (following the sequence).
- 45-55 Mins: Floor plan scan (CubiCasa).
- 55-60 Mins: Final gear check and departure.

Final Recommendation
The 60-minute workflow isn’t just about speed; it’s about predictability. When you have a system, you can scale. You can hire other photographers and teach them the same path. You can stop being a “one-man show” and start being a business owner.
If you’re ready to stop struggling with long hours and low pay, start implementing this workflow today.
Next Steps:
- Explore the Recommended Gear to build your fast-action kit.
- Subscribe to our YouTube Channel for behind-the-scenes walkthroughs.
- Download our Free Pre-Shoot Guide to send to your clients.
Shoot faster. Earn more. Build a better business.