
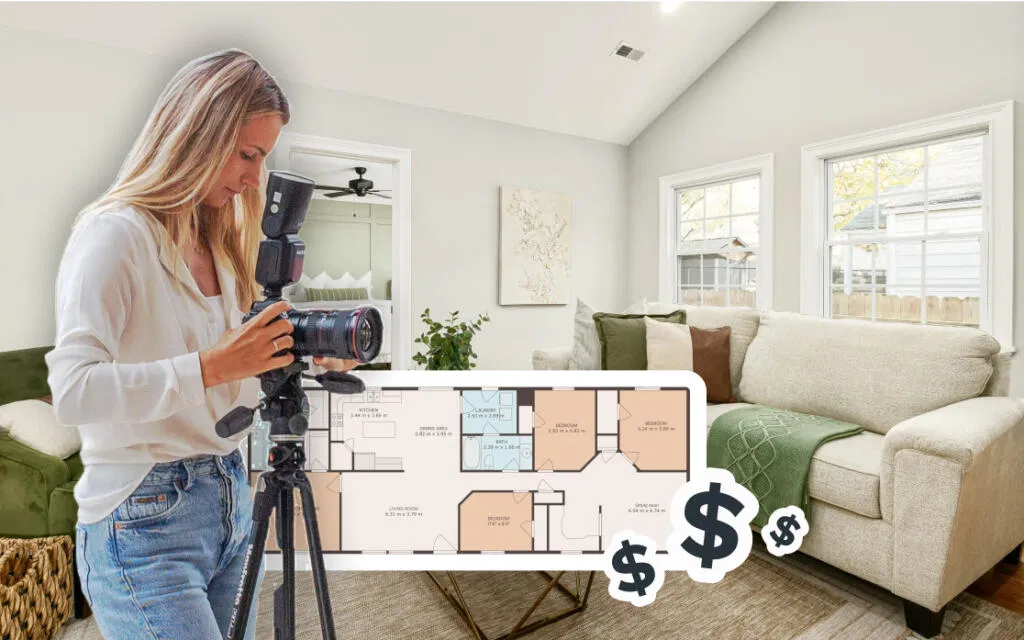
After more than 14 years and over 10,000 homes photographed, I’ve learned that many photographers do not lose time because they take too many photos.
They lose time because they move through the property without a repeatable order.
You photograph the living room, walk into the kitchen, remember a detail you missed in the living room, walk back, then head upstairs before realizing the main-floor bathroom still needs to be done. By the end of the shoot, you have covered the same hallway several times and carried your tripod through rooms you should have finished earlier.
That extra movement may not feel significant on one property. Across several listings each week, it becomes a serious business problem.
A better room sequence helps you shoot faster, reduce missed shots, keep your editing organized, and create a more consistent client experience.
Table of Contents
- Why Room Sequence Matters
- The Default Walkthrough Order
- Room-Sequence Table
- How to Plan Your Arrival
- The One-Room, One-Time Rule
- Final On-Site Checklist
- Frequently Asked Questions
- What to Do Next
Why Room Sequence Matters
Your on-site time is one of the most important numbers in your business.
If you can complete the same quality of work in 60 minutes instead of 90, you have more capacity for additional bookings, editing, marketing, and time away from work. The goal is not to rush through homes or deliver fewer images. The goal is to remove unnecessary movement and decision-making.
An efficient sequence gives you several advantages:
- You stop backtracking through the property.
- You move your tripod and lighting equipment fewer times.
- You remember more of the home’s layout.
- You create a more logical image sequence for editing and delivery.
- You complete add-ons, such as floor plans, without disrupting the photography workflow.
- You deliver a calmer, more professional client experience.
This is also why I recommend using a defined real estate photography shot list. A shot list tells you what to capture. A walkthrough order tells you when to capture it.
You need both.
The Default Walkthrough Order
For a typical two-story home with a basement, I use this as the starting point:
- Arrival and property walkthrough
- Front exterior, if the light is suitable
- Entry and foyer
- Main-floor living spaces
- Main-floor bedrooms and bathrooms
- Upper level
- Basement and utility areas
- Garage, if applicable
- Backyard and exterior features
- Final exterior, aerial, and quality-control pass
This is not a rigid rule. Weather, sunlight, occupied rooms, and the property layout may require adjustments. But you should begin with a default rather than inventing a new route at every listing.
Room-Sequence Table
| Phase | Spaces to photograph | Why this order works | Move-on rule |
|---|---|---|---|
| Arrival | Driveway, entry, quick property walkthrough | Helps you understand the layout and identify priorities | Do not start detailed photography yet |
| Front exterior | Front elevation, porch, driveway, curb appeal | Captures the arrival image while exterior light may be best | Leave once the essential exterior angles are complete |
| Entry | Foyer, staircase, first sightline into the home | Establishes the transition from outside to inside | Capture the strongest view and move inward |
| Main floor | Living room, kitchen, dining, office, flex rooms | Keeps you on one level and follows the buyer’s natural path | Finish all necessary views before leaving the floor |
| Main-floor bedrooms | Bedrooms and bathrooms | Prevents another trip back through the main level | One strong wide and essential features per room |
| Upper level | Primary suite, secondary bedrooms, bathrooms | Groups every upstairs space into one trip | Do not return upstairs unless something is genuinely missed |
| Basement | Recreation room, gym, bathroom, laundry, storage | Completes lower-level spaces together | Photograph utility rooms efficiently rather than overproducing them |
| Garage | Garage, workshop, storage features | Easy to complete while already near the lower-level exit | Include when it adds useful listing information |
| Rear exterior | Patio, deck, yard, pool, views, outdoor living | Finishes the buyer’s physical journey through the property | Capture the strongest lifestyle angles |
| Final pass | Missed rooms, front exterior, drone, floor-plan check | Confirms completeness before you leave | Do not leave until the checklist is clear |

How to Plan Your Arrival
The workflow starts before you enter the home.
1. Check the schedule and deliverables
Before driving to the listing, confirm:
- Property address and access instructions
- Number of floors
- Basement or detached structures
- Requested photography package
- Video, drone, virtual tour, or floor-plan requirements
- Delivery deadline
- Any rooms the agent specifically wants highlighted
This prevents surprises that force you to change your route halfway through the shoot.
2. Walk the property before setting up
Spend a few minutes walking through the home without taking detailed photos.
Look for:
- The best natural path through the rooms
- Areas that need quick tidying
- Blinds or curtains that need adjustment
- Lights that should be turned on or off
- Rooms with difficult window exposure
- Exterior areas that may need to be photographed later
This walkthrough is not wasted time. It prevents much larger time losses later.
3. Decide whether to photograph the front exterior immediately
The front exterior does not always need to be first.
If the light is clean, the sky looks good, and the front elevation is ready, capture it before going inside. If the sun is harsh or the front of the house is in poor light, continue indoors and return to it later.
The important point is to make the decision once. Do not repeatedly interrupt the interior workflow to check whether the exterior has improved.
Main Floor: Follow the Home’s Natural Flow
Once you enter, photograph the home in the order a buyer would generally experience it.
A common main-floor sequence is:
- Entry or foyer
- Living room or great room
- Kitchen
- Dining area
- Office or flex room
- Main-floor bedroom
- Main-floor bathrooms
In an open-concept home, the living room, kitchen, and dining area may share one visual composition. Even then, think of each area as a separate part of the story.
Start with the largest and most important spaces while you have the most energy and attention. These rooms usually require more careful composition because they establish the home’s overall impression.
For each room, follow the same mini-process:
- Clean the frame.
- Choose the best corner or doorway.
- Level the camera and keep vertical lines straight.
- Capture the primary wide shot.
- Add only the feature views the room needs.
- Check the image quickly.
- Move on.

The One-Room, One-Time Rule
The most useful rule in this entire workflow is simple:
Finish a room before you leave it.
That does not mean you need to photograph every possible detail. It means you should make the decisions for that room while you are already there.
Capture the wide view, the important alternate angle, and any meaningful feature detail. Then move on.
If you keep thinking, “I’ll come back to that room later,” you create an inefficient shoot. Later usually means moving the tripod again, rechecking the composition, and breaking your concentration.
This principle also applies to editing. If your files are captured in a logical property sequence, sorting and reviewing them becomes easier. A consistent capture order supports the entire workflow from the first frame to final delivery. You can see how this fits into a larger production system in the 60-Minute Real Estate Photography Workflow.
Upper Levels and Basements
When you reach the upper level, complete every room before coming back downstairs.
I usually work through the upper level like this:
- Primary bedroom
- Primary bathroom
- Walk-in closet, if it is a selling feature
- Secondary bedrooms
- Secondary bathrooms
- Hallway or landing, if it communicates the layout
Pairing the primary bedroom and bathroom is useful because they function as one selling area. It also prevents you from forgetting the bathroom after photographing the bedroom.
For basements, prioritize finished spaces first:
- Recreation room
- Home theater, gym, or bar
- Basement bedroom
- Basement bathroom
- Laundry and mechanical areas
- Storage
- Garage
Utility spaces should be documented clearly, but they generally do not need the same number of compositions as a kitchen or primary suite.
Exterior Flow and Add-Ons
After completing the interior, move through the rear exterior areas:
- Backyard
- Deck or patio
- Pool or hot tub
- Outdoor kitchen
- Garden
- Views
- Detached garage or outbuilding
This gives the shoot a natural ending: front arrival, interior experience, then outdoor lifestyle.
If I’m delivering premium floor plans with the listing, I treat that as part of the same property documentation system rather than an afterthought. Complete the scan or capture process in a deliberate path so you do not disturb staged rooms or repeat unnecessary movement. Depending on the service and equipment, that may mean completing the scan before or after still photography.
Floor plans should communicate the layout clearly, but they do not guarantee more bookings or higher conversion rates. They are one useful part of a complete media package. If you use CubiCasa, verify current pricing directly with CubiCasa because prices and plans can change. You can also review the CubiCasa pricing discussion for the business perspective.

Final On-Site Checklist
Before leaving, complete one final pass:
- Every requested room has been photographed.
- The front exterior is complete.
- The backyard and outdoor features are complete.
- Windows, mirrors, and screens are checked.
- No people, pets, bags, or distracting equipment appear in frames.
- Premium floor-plan capture is complete, if ordered.
- Drone or video requirements are complete, if ordered.
- Batteries, cards, tripod, and lighting equipment are packed.
- The property is left as you found it.
- The files are backed up or ready for transfer.
The checklist should take less than a minute once it becomes habitual. That minute can save an expensive return trip.
Frequently Asked Questions
Should I always photograph the front exterior first?
No. Photograph it first when the light and property condition are favorable. Otherwise, capture it later. The goal is to make a deliberate decision rather than interrupting the shoot repeatedly.
Should I photograph rooms in the order they appear on the MLS?
Not necessarily. The physical shooting order should minimize movement. The final gallery order can be arranged later to tell the property’s story more effectively.
What if the home has an unusual layout?
Use the same principles: group rooms by level, follow the natural path, and avoid returning to completed areas. Your default sequence is a starting point, not a restriction.
Should I photograph small rooms before large rooms?
Usually, no. Complete the important living areas first, then move through smaller bedrooms, bathrooms, and utility spaces efficiently.
How many photos should I take per room?
Take enough to show the room’s layout, purpose, and important features. More photos do not automatically create better marketing. Strong composition and complete coverage matter more.
When should I capture floor plans?
Choose a consistent point in your workflow and use it on every job. The best timing depends on the service, equipment, and how much the process affects room presentation.
Does a room sequence improve editing?
It can make file review, sorting, and quality control more predictable. A logical capture order also makes it easier to identify missing rooms before delivery.
What is the fastest way to improve my walkthrough?
Record your next few shoot times and identify where you backtrack. Then change one part of the route and test it consistently. Small workflow improvements compound over many listings.
What to Do Next
Choose one standard route for the property types you photograph most often. Write it on a small card, save it in your phone, or build it into your shot-list app.
For most homes, start with:
Arrival → front exterior when appropriate → entry → main floor → upper level → basement → garage → backyard → final check.
Then follow the one-room, one-time rule.
The result is not just a faster shoot. It is a more repeatable business system that helps you protect your schedule, reduce editing friction, deliver consistent quality, and create more capacity for profitable work.
For more practical systems, read the complete HDR real estate photography guide, review the real estate photography editing workflow, and explore the RE Media Systems Recommended Gear.
If you want to build a real estate media business that helps you shoot faster, earn more, and create more freedom, start by making your next walkthrough repeatable.